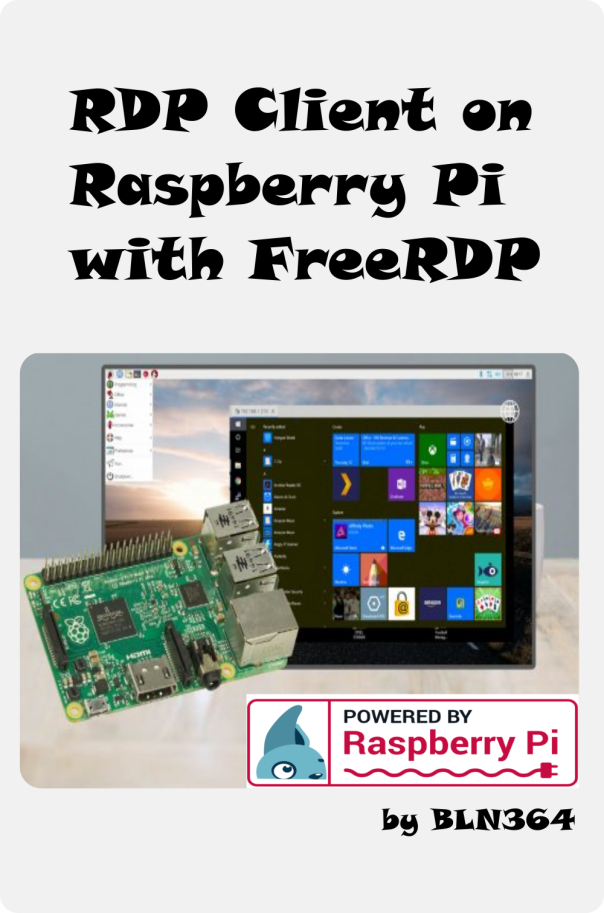
Why do you need RDP client with Raspberry PI? Do you work in a company with a policy of owning desktop PC instead of laptops? Is there also conference room? How can you present or show something from your local desktop PC in the comfort of your conference room? What are your options? You can opt out to buy low spec PC and use it with software for Remote Desktop Connection, like TeamViewer and Any Desk, but this too expensive. First, we have cost of hole new PC to be used simply as a window to other local PC. Then, we also have cost of software, because TeamViewer and Any Desk are not free for commercial use.
If we are in local network we can use Remote Desktop Connection App that is built-in in Window 10. With this we can avoid cost for additional software. So this is a much better option. However, drawback of this solution is that both PCs (low spec PC in conference room and personal office PC) must be visible on the local network, or in other words both PCs should be on the same subnet. So now, we need to invest in only low spec PC. Do we have any cheaper alternative? What about Raspberry Pi? Is this single board computer powerful enough for this task? Let’s make RDP client with Raspberry PI and find out.
You can order Raspberry PI 3B+ form Amazon
We are using Raspberry PI 3 B+ version of this small computer with Raspbian OS. I will leave installation of Raspbian to other posts and YouTube videos, there are a lot of examples. Our process starts right after the OS installation. As with any OS, first thing to do after is full system update. We can do that with next commands:
- sudo apt update
- sudo apt upgrade
Now, we have a system that is up to data and we can start.
- RDP Light Client for Linux. This is the main part of our project. Choice was freerdp2 because it is highly customisable, light and controlled from command line. This is very useful for us because we can programmatically change functionally, by changing command line options. We can install these software by running commands:
- sudo apt-get install freerdp2-x11 freerdp2-dev
- Configure RDP client and Raspberry PI drivers, so that we can route sound from remote PC to Raspberry Pi, and also route voice recording via USB Headset to Remote PC. Now, we could have a skype meeting in the meeting room. Commands to install are
- sudo apt-get install pulseaudio
- GUI — there was need for some kind of graphical interface because some people are not familiar with command line. GUI is done with python and PyQt package. We have to select PC on which we want to connect, user name and log in password. To install graphical interface you can use next commands:
- sudo apt-get install qt5-default pyqt5-dev pyqt5-dev-tools
Now we have everything that we need for creating Raspberry PI based RDP client. We just need to create right command to call in console.We can start with just logging in, without any additional features. For that we need only two command attributes, /v: and /u:.After /v: we can specify remote’s PC IP address and after /u: we need to place user name that exists in that remote PC.
Command looks something like this:
xfreerdp /v:192.168.0.10 /u:BLN
So, if you don’t get log in screen for machine with IP address 192.168.0.10 and user BLN, you did something wrong and you should repeat steps above in order to achive this first step.
Next, we want to extend functionality of our RDP client, so that we can use one even for skype calls. For this requirement we need two things, we need to pass sound for remote PC to Raspberry PI and wice versa for microphone recording. Attributes for that are /audio-mode:0 -sound /microphone.
After this command looks like this
xfreerdp /audio-mode:0 -sound /microphone /v:192.168.0.10 /u:BLN
Now, we have sound output and recording as well.
What can we add?
We can define screen size with attributes /w: and /h:, and also we can define security certification with /sec: attribute. Usually, windows machines will request this kind of security encryption. Now, our command is a bit longer, and looks like:
xfreerdp /audio-mode:0 -sound /microphone /v:192.168.0.10 /u:BLN /sec:tls /w:1920 /h:1080
One more thing that we can add is Share Folder between Raspberry Pi and Remote Desktop PC. First we need to create our shared folder with command mkdir.
The best location for this kind of folder is in home directory, so if you want to follow my instruction directly just copy and paste next command.
mkdir /home/pi/Share
Now we can simply slap on last attribute that we need, and that is /drive
xfreerdp /audio-mode:0 -sound /microphone /v:192.168.0.10 /u:BLN /sec:tls /w:1920 /h:1080 /drive:data,/home/pi/Desktop/Share
Now, our Shared Folder will be visible from our remote PC, under network devices as “data”.
We have forking RDP Raspberry Pi Client.
RDP will be opened in full screen (if we add attribute /f) and if we want to exit, we need to press Ctrl+Alt+Enter. Then, RDP client is no longer in Fullscreen and we can simply close current session by closing down the window.
Now we have all required functionality that were needed. We can enjoy silence of meeting room, when we are on sync up call.
Drawback, we need to use command line to pass parameters to corresponding attributes. A lot of people are not comfortable with command line interface, so good practice is to create so GUI that will concatenate right command in the background. But, we shell leave that for the next post.
Did you manage to set up your Raspberry PI RDP Client? Did you do something different, better? Would you like to se how did I made GUT for my RDP Client?
Please comment down below and see you in the next project. Also, take a look at https://bln364.com/generate-g-code-from-image-using-inkscape-and-python/

