Hi in the last post I started using Raspberry Pi 4 as desktop replacement, but something was missing. On my main PC I’m using Manjaro Linux with i3 window manager. There are a lot of advantages of tiling window manager, especially on low hardware which is Raspberry Pi, but not to take your time I will just add excellent YouTube video below if you want to go a bit deeper. This is video from DistroTube, so please check it out. In this post I will show you my script that will download and install i3 window manager on Raspberry Pi and configure it. This will make Raspberry Pi more responsive, snappy and it will use less RAM at idle. So, lets create Raspberry Pi 64 bit but faster.
Start with GitHub on Raspberry Pi
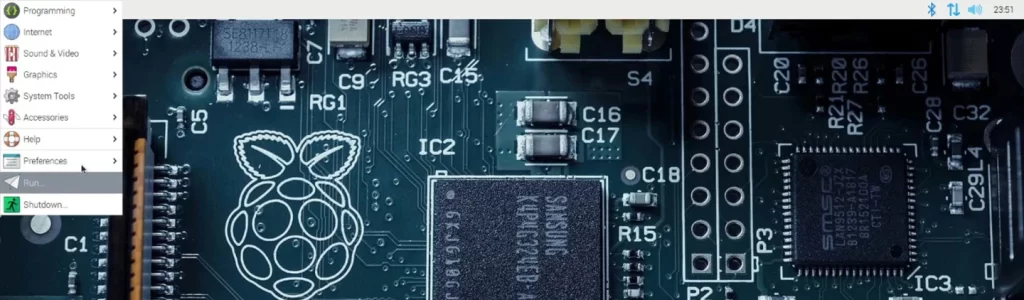
In order to create Raspberry Pi 64 bit but faster, fist we need to know how to get/download source code form GitHub. Here I will host my Rpi3.sh script that will do all the work for us. But, before all that we need to configure ssh key for GitHub. That is encryption form your PC to GitHub that is required in order to download required repository. Don’t worry this is pretty much simple. Open terminal emulator at Raspberry Pi and type next command:
ssh-keygen -t rsa
Leave default ssh path by simply pressing Enter and then add your password twice. After this .ssh folder will be created in your /home/<user> folder with two ssh key. First one, id_rsa is your private key and you DON’T SHARE THIS WITH NO ONE. Second, id_rsa.pub is your public key, and the content of this file should be added to GitHub. Use command:
cat ~/.ssh/id_rsa.pub
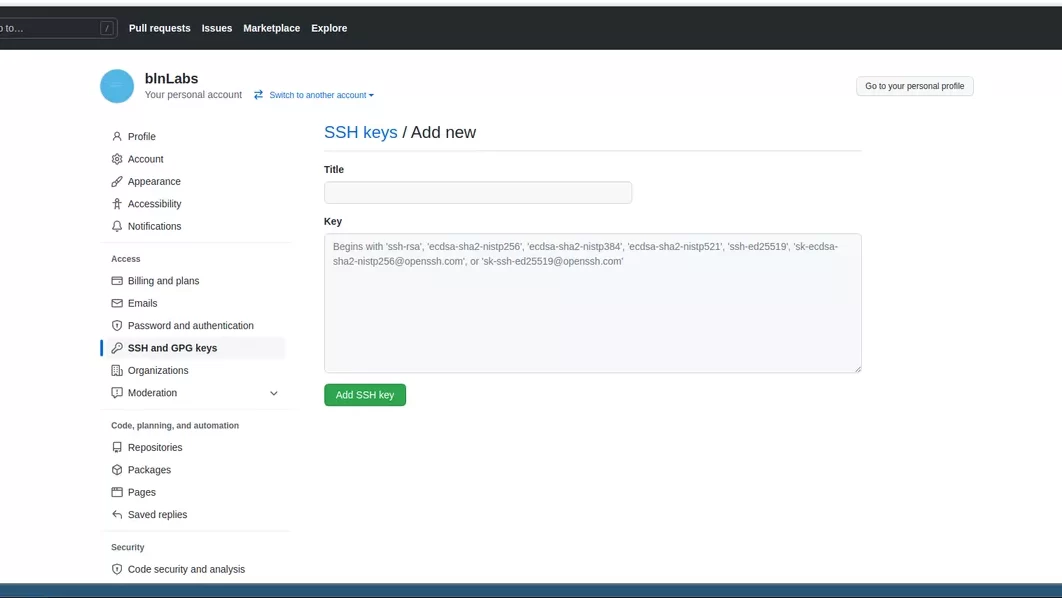
in order to get your public key and then you to GitHub settings page. Select SSH and GPG keys and then add new ssh key. Create a title and copy your public key into key field. Press Add SSH key and you are done.
Check out my YouTube video at this topic.
Clone Project
SSH keys are now configured and we can simply go to GihHub project page, click on Clone, select ssh and copy that link. For this project the GitHub link is https://github.com/blagojenikolic91/Rpi3. On Raspberry side open terminal and type
git clone <copied link>
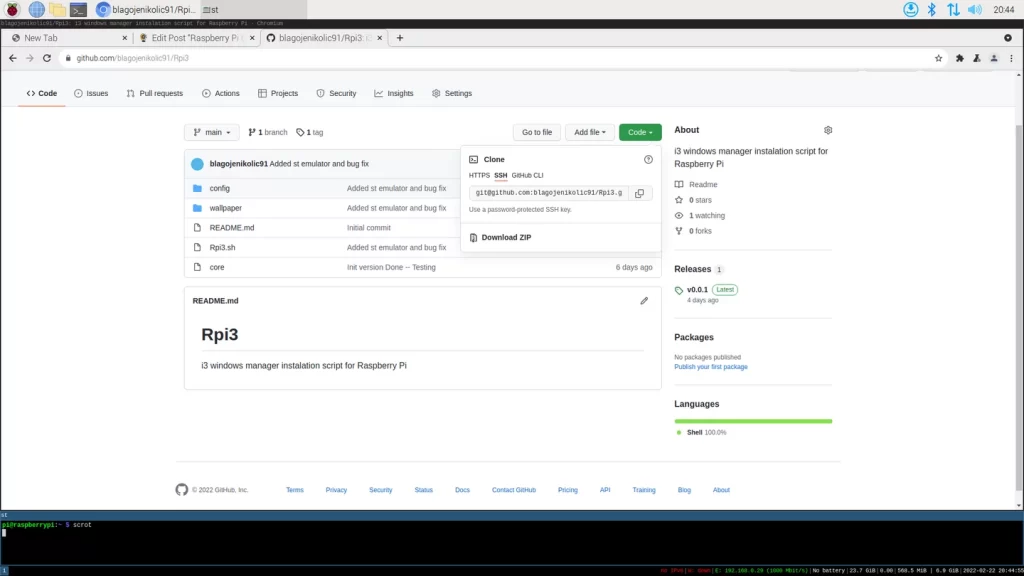
Get link by clicking on button Code inside project folder.
Installation process
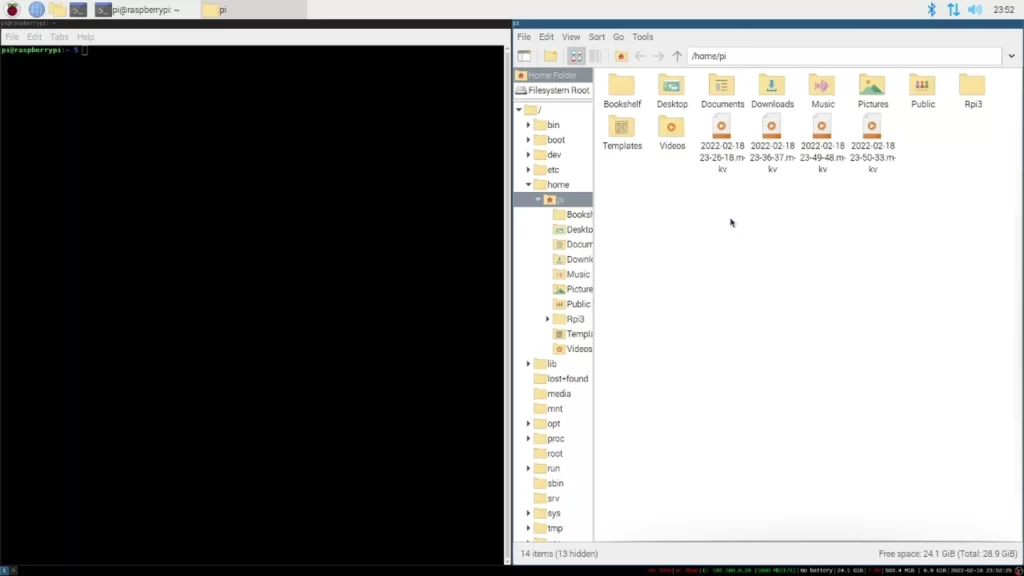
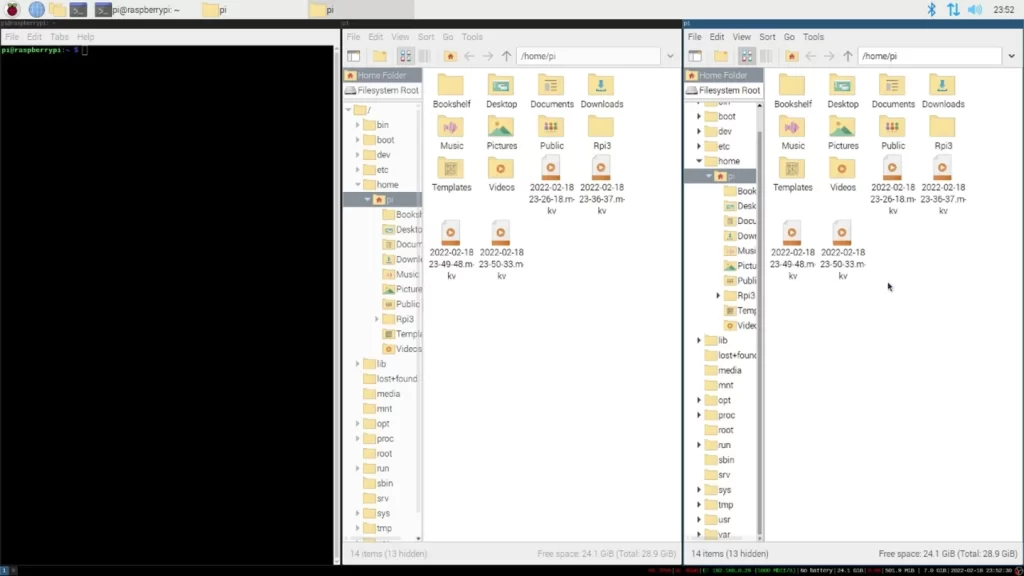
Installation process in very simple. When we have Rpi3 project cloned or extracted form zip, installation is simple as going inside the RPi3 folder and running Rpi3.sh script with sudo privileges.
sudo ./Rpi3.sh
Check out i3 window manager
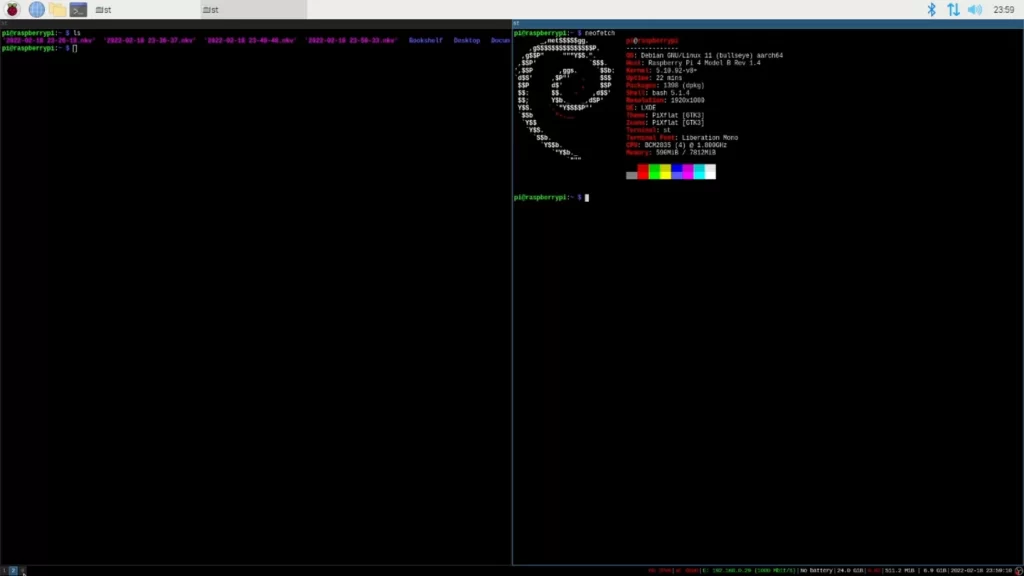
And now this is our environment. As you see I added couple of wallpapers. Wallpaper can be changed by resetting i3 window manager and for that we have keyboard Super+Shift+R.
As you can see, lxpanel are still at the top. This is not needed for default use of i3 window manager but I left this panel for new tilling window manager users. With this even new users will be fine with this setup until they become more familiar with tilling window manager keyboard shortcuts (or bindings).
i3 comes with its own panel called i3bar. Form default installation i3bar is place at the bottom of the screen. The panel is very simple. We have workspace switcher on the left side, and some system info on the right. This i3bar is pretty much customizable and there are multiple additions. For this post I left i3bar as default.

Start with tilling window manager
The main difference when using tilling window manager is that, if there is no application open the new application or window that you want to open will open in full screen. Then if you open one more application, now the screen will split vertically in the middle. The reason behind this is to have optimal use of screen real estate. You will not have overlapping applications, and every application will be seen.
The main keybinding that you need to know when using i3 or any tiling window manager is Super+Enter. This keybinding will lunch a terminal emulator. In this installation I’m using simple terminal or st. This is pretty light terminal emulator, but in the other hand st is very fast.
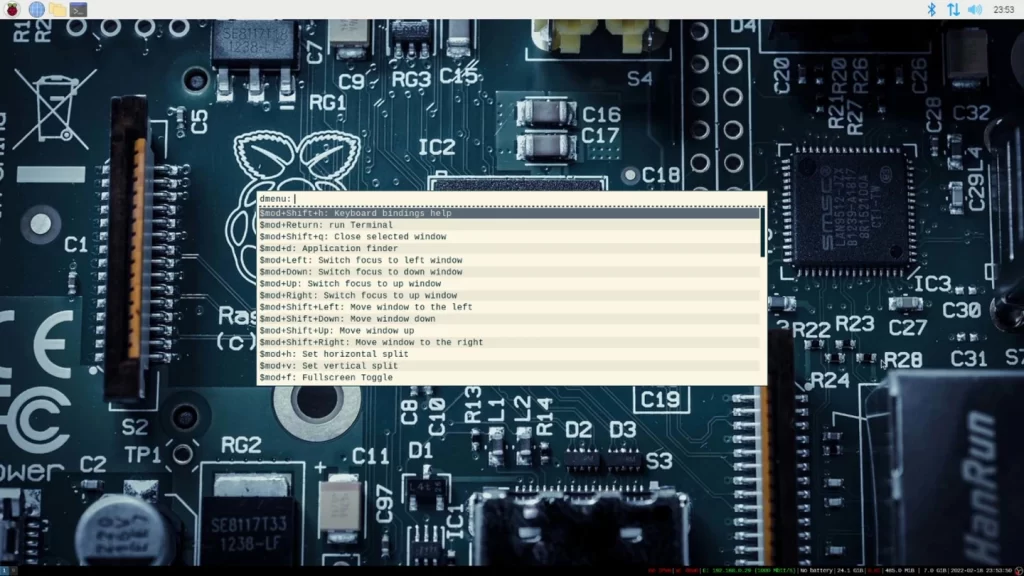
Helper Cheat Sheet
I also added some cheat note for i3 keybinding that are by default used by i3. To see these cheat notes you simply need to press Super+Shift+h. Next window should appear with defined keybindings.
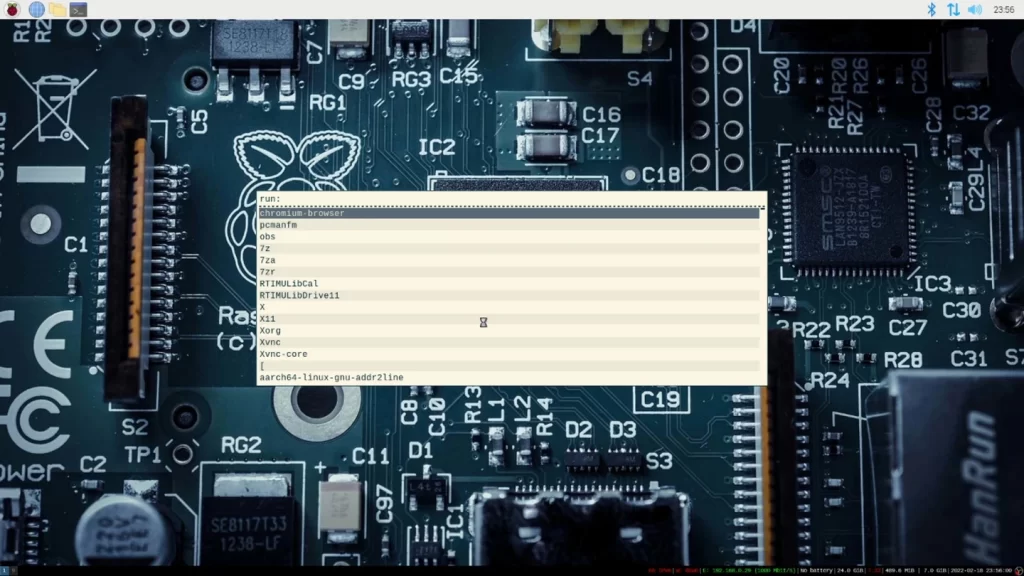
Application launcher
Additional there is application launcher inside i3 and that can be activate by pressing Super+D. This will lunch rofi program in my i3 Raspberry Pi setup and in default i3 dmenu. Rofi is a bit more graphical and that is the reason why I chose rofi. Also cheat sheet is using Rofi a platform and it can be customized a lot but I will leave that for the next release.
Final Words
I showed you some things that can be done inside i3 window manager inside Raspberry Pi OS. I relay think that i3 wm will make Raspberry Pi 64 bit but faster, because it’s a bit lighter then default desktop environment. With i3 I used Raspberry Pi for couple of days as desktop replacement, of course just for web browsing and light tasks, but it was fine. Yes, it was slower that my main desktop PC, and it wasn’t painful enough to make me unplug monitor, keyboard and mouse from Raspberry Pi and plugin it back to may PC. Please comment down bellow and see you in the next one.