
Part 1: Game UI
Hi all. In this blog series, I will create a snake game in LabVIEW and document all the steps. In this first post, my focus is on the Game’s User Interface and figuring out how the game will look, because I would like to create a beautiful game as well. I’m using LabVIEW 2020 Community Edition.
Idea
I’m an engineer, and with this I mean I’m not a game designer or designer of any kind. That is not my strong side. So, I start looking for ideas with simple google search for Snake Game. There were a lot of interesting ideas, but one caught my eye. If you are interested, please check the original post on the next page https://love2d.org/forums/viewtopic.php?t=10339, but here is the picture.

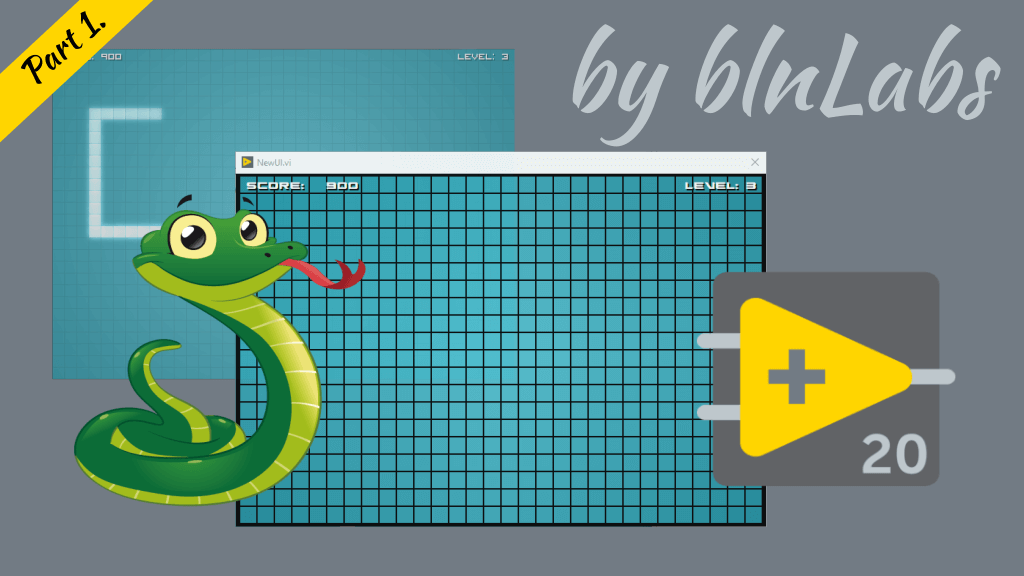
In this blog I will explain how I manage to create LabVIEW front panel for Snake Game that is inspired by picture above, and final result is:

So let’s begin.
Game Field
In order to create field for the snake I have used a simple color box (Color Box (NXG Style)) and then, with Array (NXG Style) indicator create 2D array indicator of color boxes. From now on I will refer to this 2D array indicator as a display indicator. Extend display indicator to 30 boxes in width and 20 boxes in height. Next, resize your front panel windows to show only the display indicator.


Game Filed boarders
Now, let’s just paint our borders of our indicator on the Front panel with help of tools pallet. Open Tools pallet by selecting Front panel and then select View -> Tools Pallet. Then carefully select a color for the edge border and then for the inner border. Also with Initialize Array set the background of every color box to desired color. The result should be something like this.

And we could stop there, but as you probably noticed there is a slight transition in color from boxes at the edge of the display to the middle. I wanted that as well, so the first order of things is to figure out the color in the corners of the display and then in the middle. For that, I used the original game’s image and a program called Inkscape, but you can do this in multiple different ways. It’s just important to get RGB (Red, Green, Blue) value for these colors. In my case:
- Corner color is R:29 G:142 B:158
- Middle color is R:84 G:196 B:213
If we notice that that difference to colors is about 55 for red, green and blue value, we can programmatically control our display background in order to achieve this effect. So, if we have difference in the value of 55 between corner and middle color box, we can agree that we want the value of 30 to be horizontal difference and 25 vertical. We need to create a ramp that will go from 0 to 30, then back to 0 in 30 steps (horizontal ramp), and the second ramp from 0 to 25 to 0 in 20 steps. After that, we need to create two 2D array with the same size as the display indicator with delta for every color box. I did this by simply iterating over both ramps and combining their values. SubVi that is responsible for this is shown in the image below.

Also in this SubVi, I added Intensity graph just to check my progress.


So I’m on the right path. Now, I simply need to loop over these two arrays and combine their values for Red, Green and Blue. That is done in the next SubVi.

And now we have something like on picture below.

Score and Level String Indicators
How to add string indicator on top of Display indicator? For that you need to do next steps:
- Create string indicator
- Move Indicator to the front of the front panel by selecting icon Reorder, and the Move To Front.
- Position String indicator on top of the Display Indicator
- From Tools Pallet, and then from Set Color select String Indicator and in the top right corner of color select windows click on T icon to enable transparency

- Chose font, size and font color
And you can be done with that, but I want one more thing. String shadows and as you can probably see from the image above I was able to do that. It was simply by adding an additional string indicator with the same value below the original indicator, with different color and moved it a bit down and to the right. And that was all. The final result was:

Final Words
My plan is to create the Snake game in LabVIEW that looks a bit modern and this was only the first step. So, what do you think? Could you follow these instructions or did I miss something? Please commend down below and check my other LabVIEW related content: